The secret for faster draws and natural accuracy
Safety First
⚠️ Safety Note: Always begin this drill with a unloaded firearm. Double-check your weapon is clear before starting. You should not perform this drill live unless you have a qualified partner or range officer supervising who can give you immediate verbal commands to stop if the environment becomes unsafe.
Natural Point of Aim Defined
At Strategic Defense Academy, we define Natural Point of Aim (NPOA) as the place your body wants to point when you are in a tension-free, natural position. It’s where the gun settles when all muscular effort is stripped away.
In marksmanship, tension is the enemy of consistency and precision. If you twist your torso or fight your stance to force your sights onto target, you’ve introduced hidden tension. Under recoil—or even just natural relaxation—your body will drift back to its “home position.” That’s why shots often trail left or right even when your eyes told you the dot was on the bullseye.
The fix? Align your body to the target before you draw, so your natural point of aim and your intended point of impact are in harmony.
Why the B.A.D. Target Works
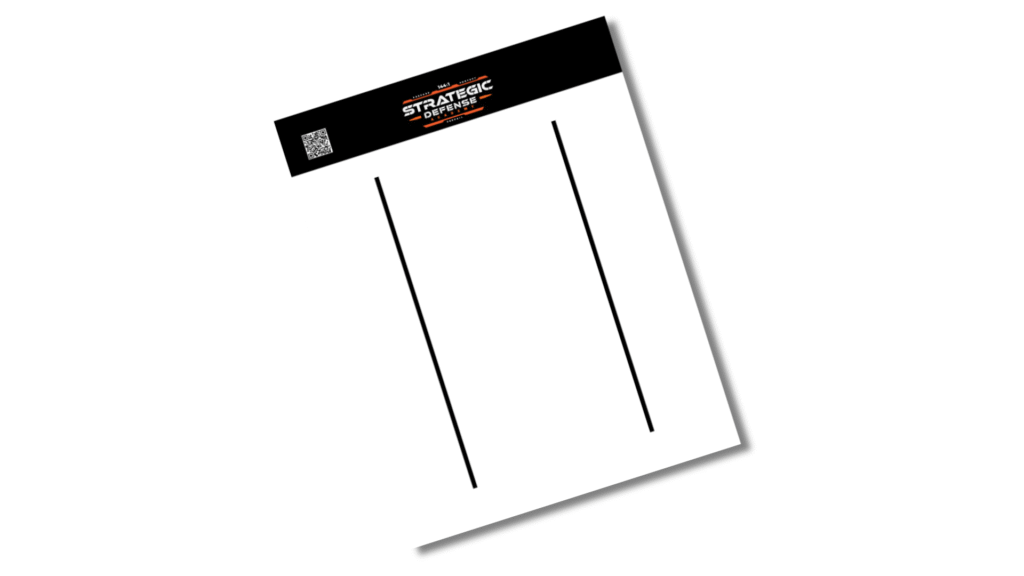
The SDA B.A.D. Target uses two simple vertical lines.
- Vertical alignment lets us isolate and detect rotational tension (torso twist left/right).
- We ignore vertical spread in this drill because gravity and recoil will always create up/down forces—and we use different drills and techniques to solve those problems.
- By focusing solely on left/right alignment, shooters can train their bodies to settle into a truly natural point of aim.
This target isn’t flashy—but it’s one of the most powerful tools you can use to build the foundation of speed and accuracy.
The B.A.D. Dry Fire Drill: Finding Your Natural Point of Aim
Recommended distance: Practice this drill at 3–5 yards for best results.
- Set up in front of the B.A.D. target. Focus on one of the vertical lines.
- Close your eyes.
- Draw your pistol and present the gun naturally.
- Open your eyes. Where is your dot or irons in relation to the vertical line?
- If your sights are left of the line, your natural point of aim is left.
- If they’re right, your NPOA is right.
Fixing alignment:
- Keep your upper body frozen.
- Adjust only with your feet—shifting your back foot for fine tuning, or your front foot if larger movement is needed.
- The goal is to rotate your hips, shoulders, and head into agreement with the target, removing all tension.
Refinement technique:
- Once aligned, close your eyes and rotate your torso left and right several times.
- Return to “center” and point the gun forward in a relaxed position.
- Open your eyes. If you drifted off the vertical line, adjust again.
- Repeat until your body naturally points on the line every time.
The B.A.D. Live Fire Drill
Recommended distance: Perform the live fire version at 3–5 yards.
This is where you test alignment under recoil:
- With a partner safely behind you, confirm your alignment on the vertical line.
- Rotate left and right with your eyes closed, return to center, then open your eyes to verify alignment.
- Once aligned, close your eyes again and fire a five-round string.
- Open your eyes and check the group.
Feedback:
- If your shots drift left, your NPOA is left.
- If they drift right, your NPOA is right.
- Ignore vertical variation—this drill is only about left/right alignment.
Why This Drill is a Game Changer
Most untrained shooters waste precious time acquiring the dot—drawing, hunting for the reticle, moving it to the target, then deciding to fire. That delay costs speed and confidence.
When you master NPOA through the B.A.D., the gun arrives on target the instant your muzzle meets your eyeline. The dot is already there. At close range, it means you can confidently break the shot the moment you see even a flash of red.
This is the difference between the novice and the master:
- Novice: Spends seconds acquiring the dot and correcting alignment.
- Master: Aligns before the draw—sights appear instantly on target.
Combat Considerations
In real-world defense, speed is life. Col. John Boyd’s OODA Loop—Observe, Orient, Decide, Act—emphasizes orientation as the critical advantage. Everyone observes, but few deliberately orient.
When you see a threat and orient your body, your natural point of aim is already aligned with the target. That orientation buys you speed and precision in the fight, whether in competition or combat.
Always be orienting. That’s how you stay ahead in the reactionary gap.
Final Takeaway
The B.A.D. (Body Alignment Drill) isn’t glamorous—but it’s transformational. By training with the SDA B.A.D. target, you’ll:
- Strip away hidden tension.
- Build awareness of your natural point of aim.
- Cut draw-to-shot times dramatically.
- Gain the ability to acquire your dot effortlessly, every time.
This is the secret veteran shooters already know—and now it’s yours.
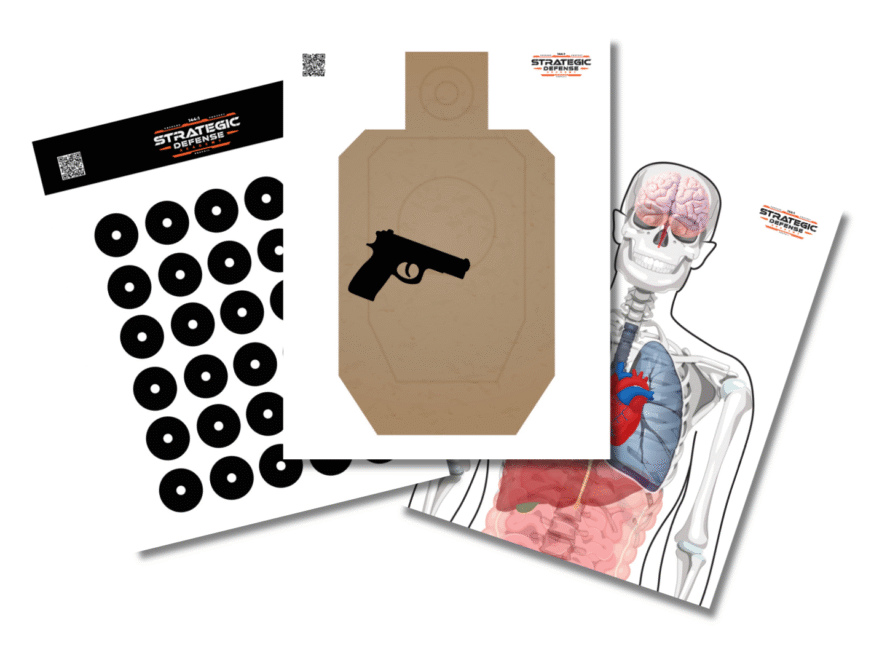
If you don’t already have this target, grab the SDA Target Pack [link]. It includes the Cadence Circle Drill, the Body Alignment Drill, Precision Dots, and more—everything you need to pressure-test your shooting fundamentals.
Train it. Own it. Make it your advantage.