The trigger is often the first thing shooters evaluate when handed a new gun, and for good reason—it significantly influences precision and performance. Lighter trigger pulls generally allow for greater accuracy by minimizing unnecessary movement, while shorter resets enable faster follow-up shots. However, these benefits must always be balanced with safety and reliability, especially in firearms designed for service personnel.
Glock firearms epitomize this balance, prioritizing reliability and safety above pinpoint accuracy. Glock barrels, for example, feature slightly looser tolerances than precision firearms, ensuring consistent operation across various ammunition types and environmental conditions. While this might sacrifice a marginal degree of accuracy, Glock understands that reliability and safety in a life-or-death scenario is paramount. After all, missing by a fraction of an inch is preferable to not firing at all.
This principle extends directly to Glock triggers, often criticized for their “spongy” feel or multiple “walls.” Understanding the mechanics behind these sensations helps shooters master their trigger control and achieve peak performance.
Analyzing the Glock Gen 5 Trigger Pull

The provided graph illustrates a Glock Gen 5 trigger pull. The X-axis shows the distance the trigger travels, while the Y-axis indicates the force exerted at each stage. The peaks (or walls of resistance) represent specific interactions within the firearm:
- Trigger Safety Disengagement
Initially, minimal pressure disengages the trigger safety, noticeable as the first subtle resistance. - Firing Pin Spring Compression
Following the trigger safety disengagement, resistance increases as the firing pin spring compresses. Shooters typically feel this wall of resistance clearly. - Firing Pin Safety Compression
A third resistance point occurs when the trigger bar impacts and compresses the firing pin safety. This interaction can be felt clearly as an additional wall of resistance. - Trigger Bar and Connector Engagement
The trigger bar then contacts the connector, creating a distinct and firm wall of resistance easily recognizable by the shooter. - Trigger Break and Discharge
Further pressure on the trigger bar causes the connector to lower the safety ramp, allowing the firing pin to release, discharging the round. This final stage is often what shooters refer to as “Spongy.” Pressure is gradually increased until the safety ramp clears the firing pin and the shot breaks. There is no distinct wall of resistance prior to the shot breaking, but after some practice a shooter can come to expect exactly where that will happen.
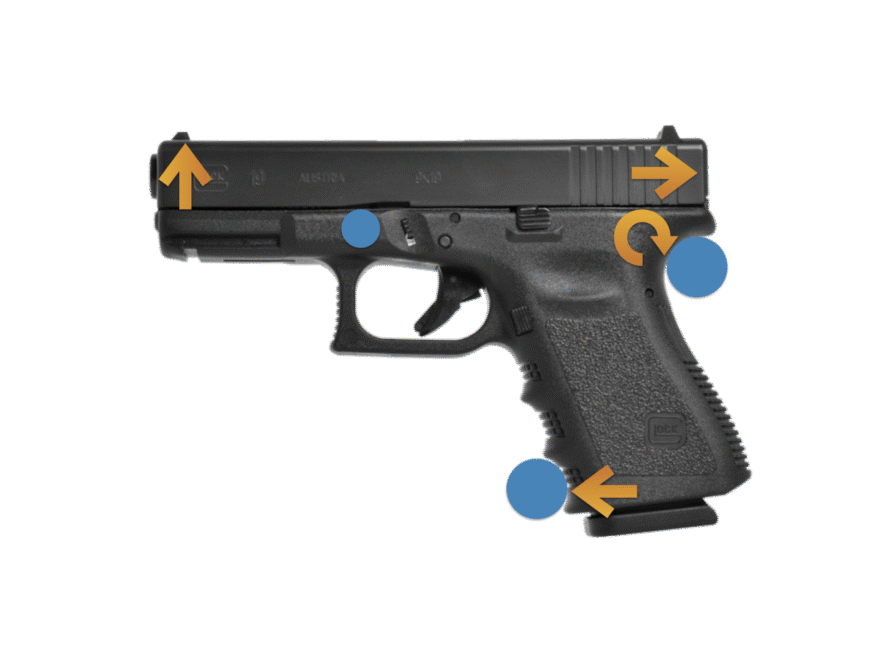
Visualizing Internal Trigger Mechanics
The video below clearly illustrates each interaction within the Glock Gen 5 trigger mechanism during a complete trigger press, providing a dynamic visual companion to the stages described above
The photos below provide a visual understanding of the internal Glock trigger interactions:


Mastery through Understanding
Achieving mastery with the Glock trigger requires intimate knowledge of its internal mechanisms. While it may not be the most refined trigger available, the Glock Gen 5 offers unmatched reliability and safety, trusted by countless military, law enforcement, and civilian shooters worldwide. By demystifying the Glock trigger’s behavior, shooters can improve their control and performance, confidently relying on the firearm when it matters most.
I hope this breakdown enhances your understanding and helps you harness the Glock Gen 5 trigger to its fullest potential.